Materials you can use to create SalesReach Assets:
- Files: such as PDFs, documents, slide decks, or infographics.
- Links: any web page or web links such as a product page on your website or even a link to a Google Doc.
- Embed Videos: Embed your video hosted on a platform such as YouTube, Wistia, Vimeo, Vidyard, and etc.
- With BuyerVideo you can save BuyerVideo recordings to the Content Library.
- To Email: Though, technically not a material, you can set Assets to email the Page Owner.

How to Create SalesReach Assets
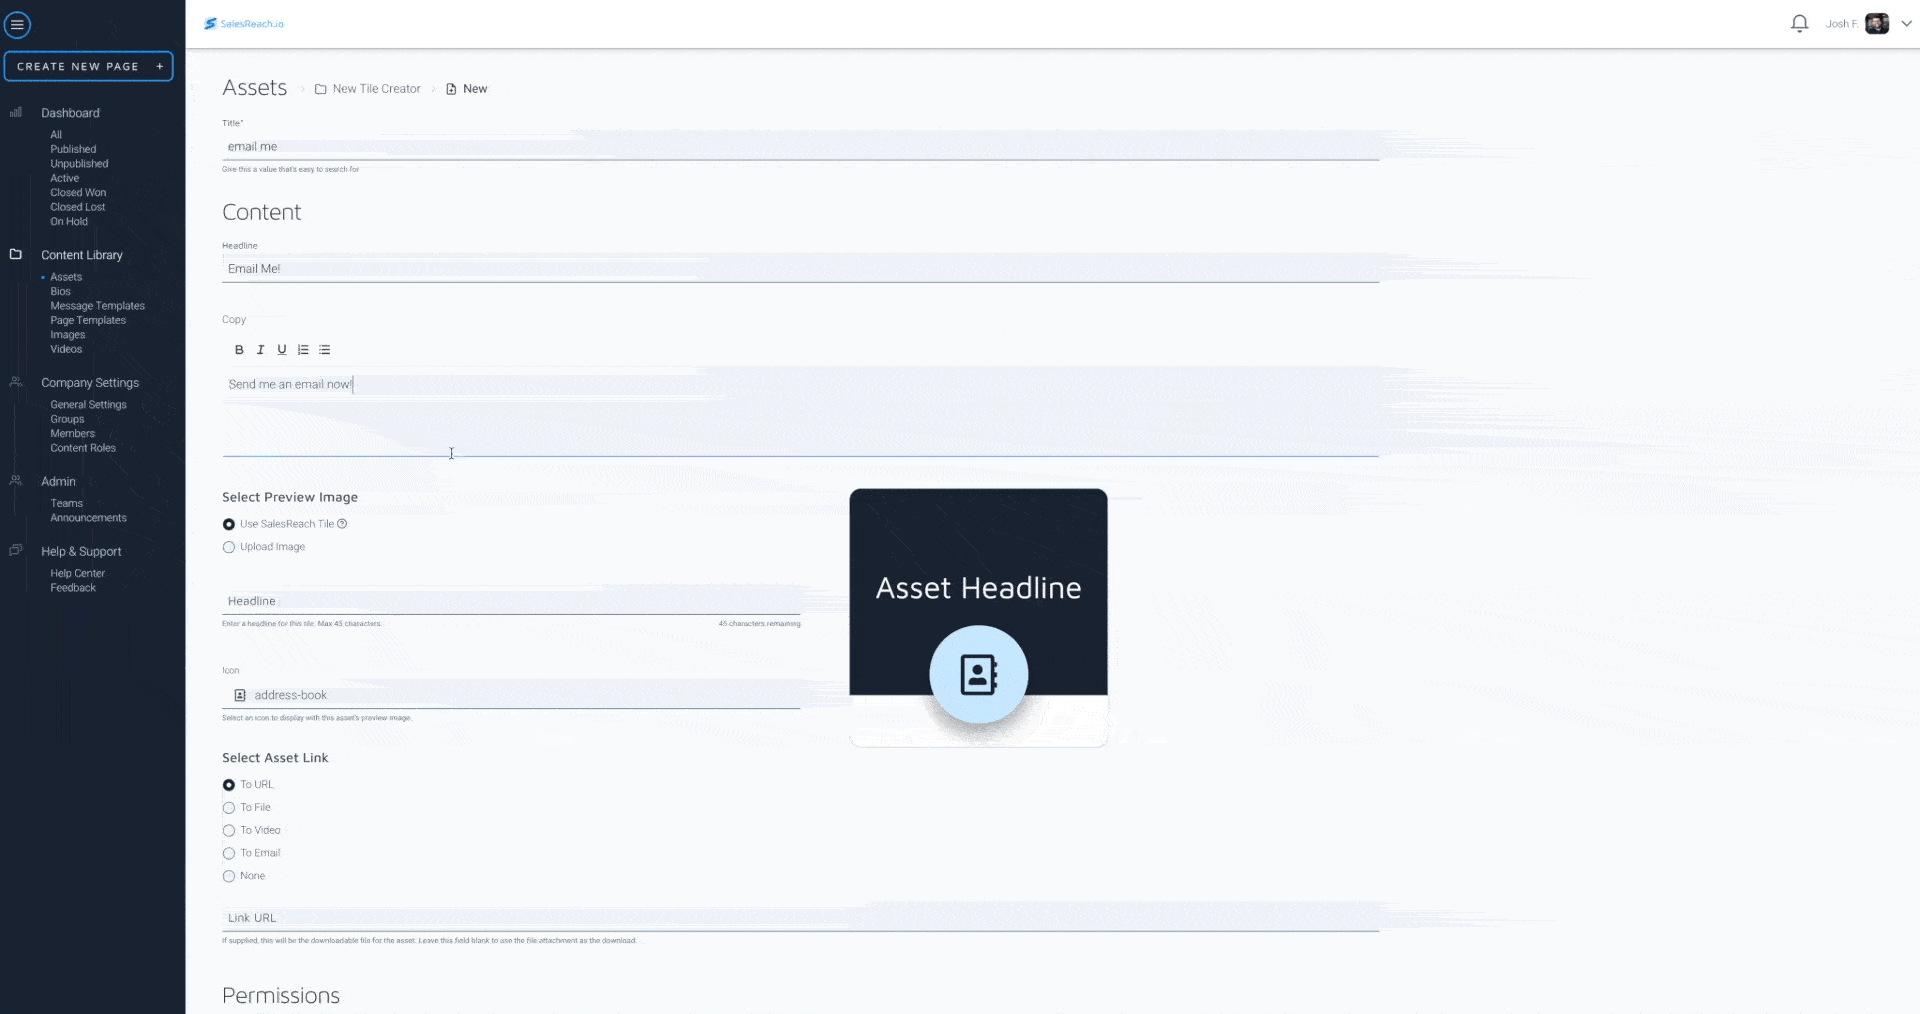
- Add Content - Your Asset needs a internal name so you can find it later. Add a customer-facing headline, and body copy to get engagement on the Sales Page
- Select a Preview Image - create an Asset Tile or upload a custom image
- Select Asset Link - Indicate the type of Asset you want to create
- Permissions - Indicate who should use this Asset and who should see it when they use SalesReach
For a more details on creating Assets in SalesReach continue reading.
Or go on to Step 9 of the SalesReach Getting Started Guide
Step 1: Add Content to your Asset
- From the SalesReach Dashboard expand the Sidebar Menu
- Locate "Content Library"
- Under Content Library click "Assets"
- Click "Add New" in the upper right
- Give your Asset an internal name in the "Title" field so you can find this Asset quickly
- Then under Content, enter a customer-facing Headline
- Enter customer-facing copy (under 10 words works best)
- Select a preview image with the Asset Tile Creator or upload a custom image to represent your Asset on a Sales Page
Note: Your SalesReach Team Owner should have set the Asset Preview Image Settings when they set-up SalesReach. Image tiles should be either 1:1 (square) or 4:3 (horizontal rectangles). You may need to confirm this with the Tea Owner.
Step 2: Select a Preview Image
How to use the Asset Tile Creator:
The fastest way to get content on to a Sales Page and sent to a buyer is with the SalesReach Tile Creator.
- Select "Use SalesReach Tile" under Select Preview Image
- Create a customer-facing headline for your tile graphic (limit to 49 characters)
- Select an icon from the icon library to represent your file
Use a custom image as an Asset Tile
Note: SalesReach will responsively load images, meaning it will automatically adjust your image to fit on any SalesReach Page
- Select Upload Image under Select Preview Image
- Simply include a screenshot of your Asset or create a custom graphic to represent your Asset on a Sales Page
Step 3: Select Asset Link
- Select what your Asset will reference when placed on a SalesReach Page:
- To URL: insert the link or URL to this asset. Make sure if it's hosted somewhere else like Google Drive or Dropbox that you appropriately update the sharing settings of that asset. This is where you may share a link to a video.
- To File: upload the file to SalesReach.
- To Video: go to your video hosting services like YouTube and find a video you'd like to create as an asset in SalesReach. Find the embed code (this is often located in the 'share' icon of a video) copy it and paste it in SalesReach
Step 4: Set Permissions and Visibility
- Select a permission level under "Permissions"
- Everyone - all SalesReach users at your company will have access
- Just Me - keep this Asset to yourself (ideal for personalized videos you've recorded for customers)
- Selected Groups - if you have a team that could find this Asset valuable or is specific to a certain team such as the "western sales team" make it available to the whole group
Click "Save" to create your new Asset
Note: There are required fields in the Asset creation form. You will need to enter all the required information to create an asset. If you do not you will be prompted by SalesReach to enter the required information.