Forms can be displayed both on the page directly and inside assets. But before they can appear in either of those places, they must first be built in the content library.
To start, go to "Form" on the left side navigation:
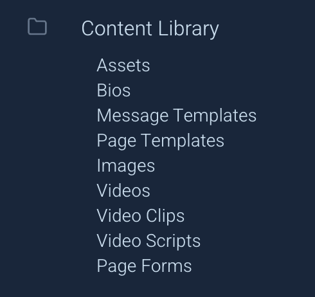
You can then decide to organize forms into folders or to just create forms directly in the library unorganized.
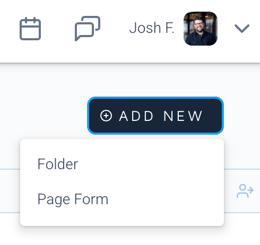
Both folders and forms may be permission controlled across the org as other content types in SalesReach are.
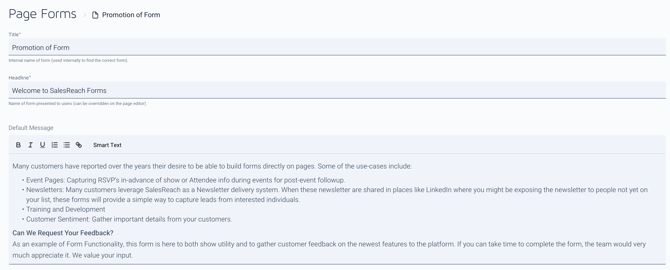
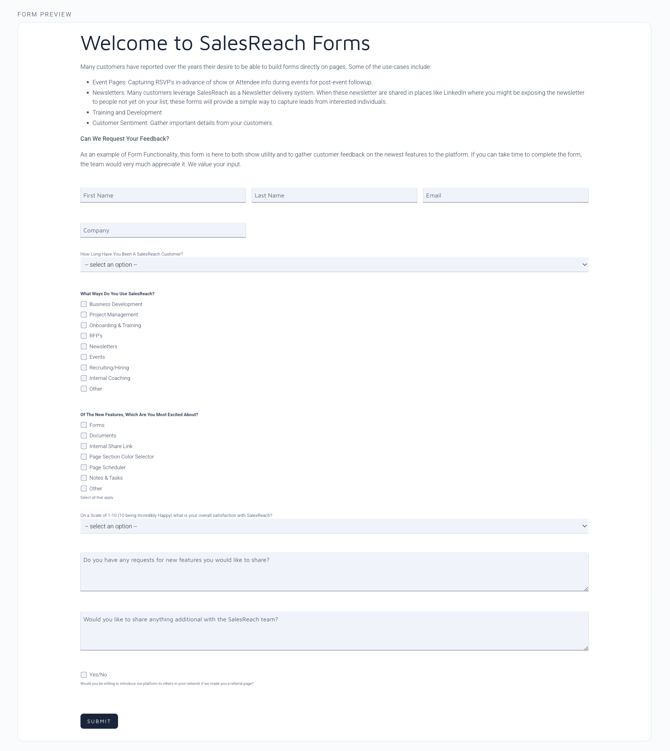
The next step is the give your form a name for you to search and a Headline and Body copy to be displayed to your audience. The full WYSIWYG is available inside the body copy to allow for more styling as shown here:
Next you can add/select your fields:
First select "ADD A FIELD"
Second, select the field type and complete the necessary fields:
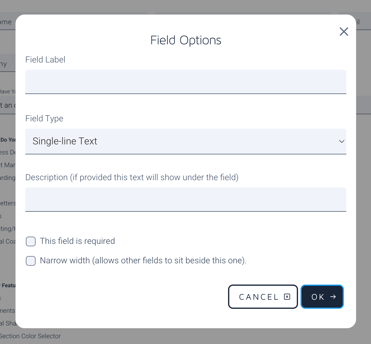
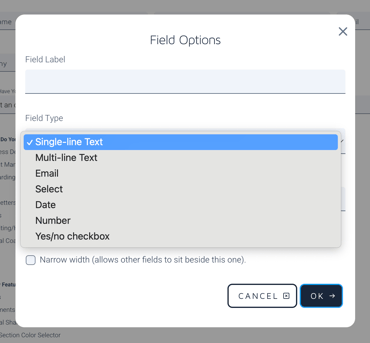
Available fields:
Most fields are fairly self-explanatory.
-
Single line text: Ideal for a First Name, Last Name, Company Name type field
- Multi-line text: Ideal for when you would like a longer form response from your audience
- Email: Use this field specifically when capturing email addresses. This allows us to better provide you with a hyperlinked email address in your downloaded reports after form completion
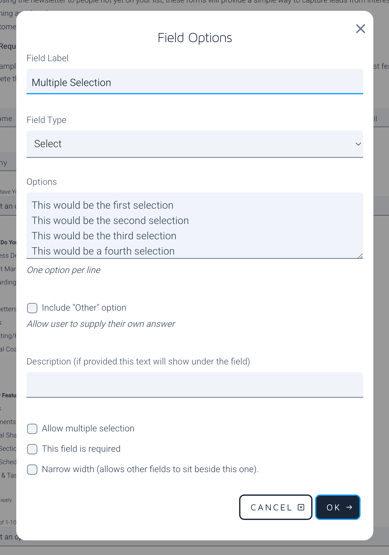
- Select: The selector can be used as both a Multi and Single selector. You may create as many selections as you would like inside this form. As you create the selectable items, each new line of text becomes a selectable item as shown here:
- Date: Allows for the selection of a date if needed.
- Number: Allows for the selection of any number. Common use case would be "number of seats needed" or "how many guests?"
- Yes/No Checkbox: Used for simple yes/no questions or could also be used to allow visitors to opt-in to future messages for example.
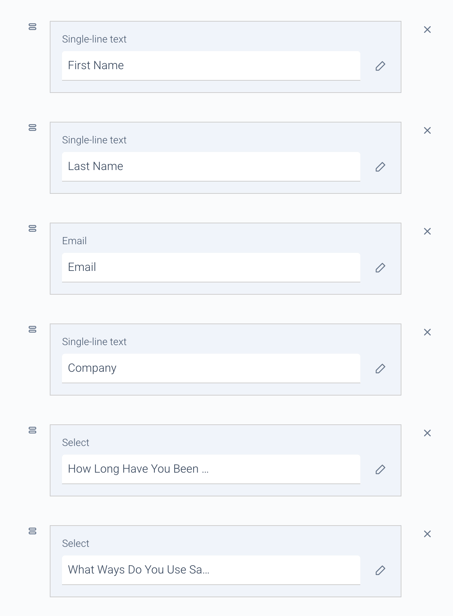
The order you create them in will be the order they appear by default, however you may move them after creation and can edit any field at any time.
You can preview the look and function of the form while creating it as well:
Just as in other places inside SalesReach, any changes made to this form will be reflected on any page it has been previously used on immediately, so only edit forms if you want all instances of the form to be updated.
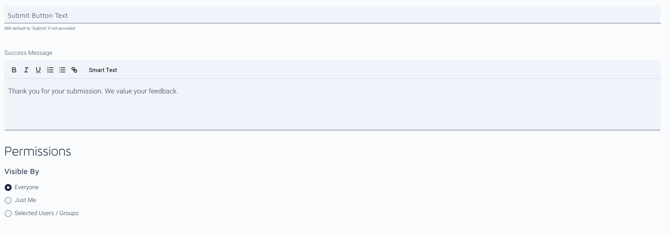
You may now also update the submit button text, Create a custom "Success Message" to thank visitors for the form completion and advise them to the next steps and can determine the visibility across your organization for the form.
Now let's use the forms on some pages!
Using Forms on pages:
Forms can be used in two places, both in content sections and inside assets. Additionally, if more than one form is needed on a page, you can have as many different forms shown on a single page as you need. In this example, forms are being used in both an asset and in a content type:
To add a form to a page as a content type:
On the left hand side editor scroll down to the "Add Content Section" button and select Form
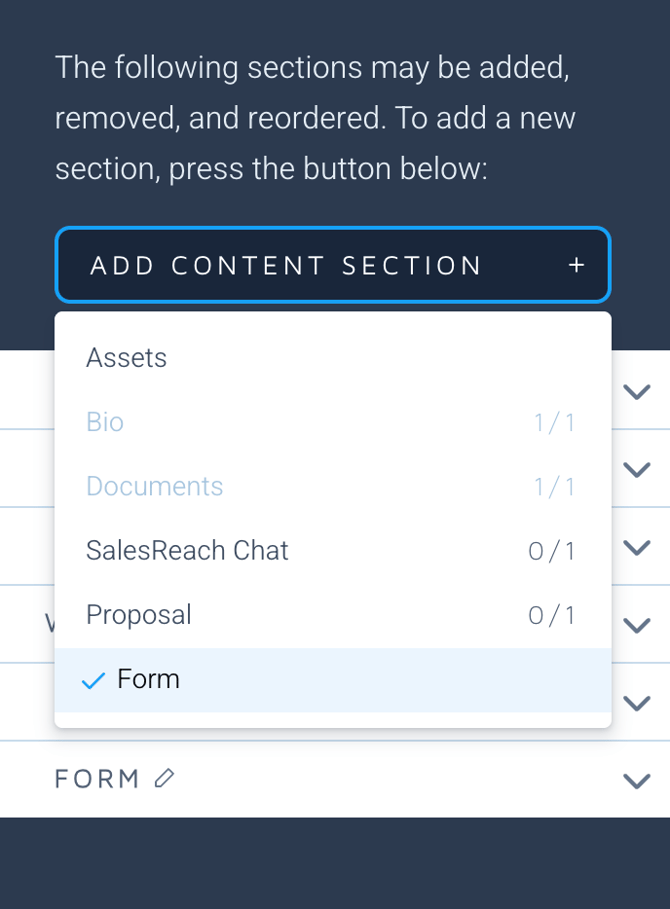
Once you have added a form section, select the form you would like on the page:
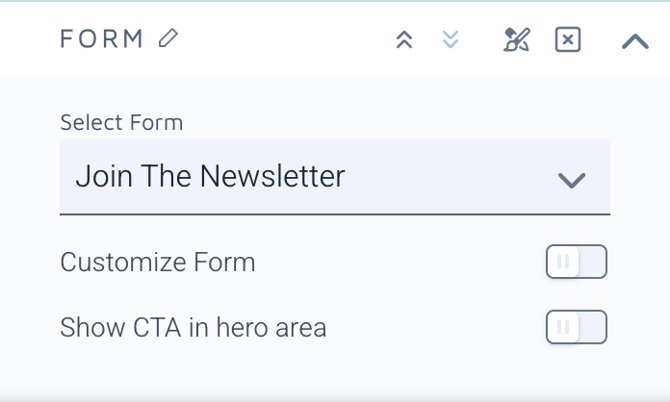
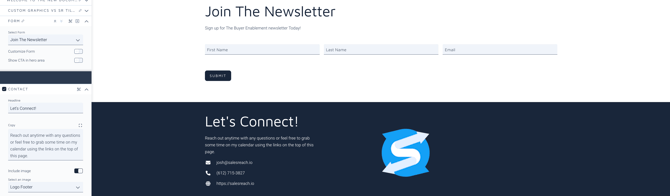
You can then customize the headline and body copy from the form you selected for the specific page you are using it on and add a CTA in the Hero area of the page to bring visitors directly to the form.
Your form will now look like this:
You can have multiple forms displayed in the content section if you would like, just add another as you would with an asset section. Or, you can add a form as an asset.
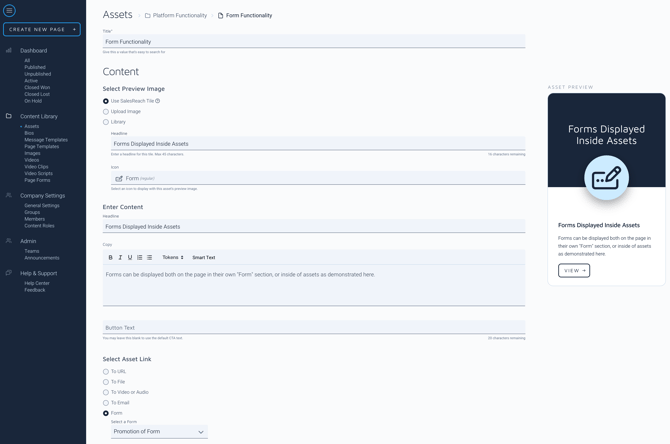
Adding Forms as assets:
Any asset can now be created to be a SalesReach form. Where you determine the "Asset Link" you will select "Form" where you can then select the form you would like to use for that specific asset.
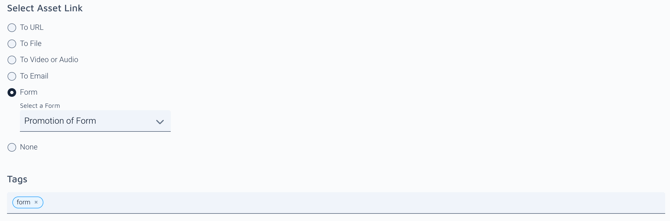
All other portions of the asset are created the same as any asset in the system.
Don't forget you can engage with the form inside the editor for testing prior to publication.
Reviewing and Exporting Submissions
To view form submissions, you can navigate to your analytics drawer on your SalesReach dashboard. Any page with a form that has had submissions will appear under the page sessions:
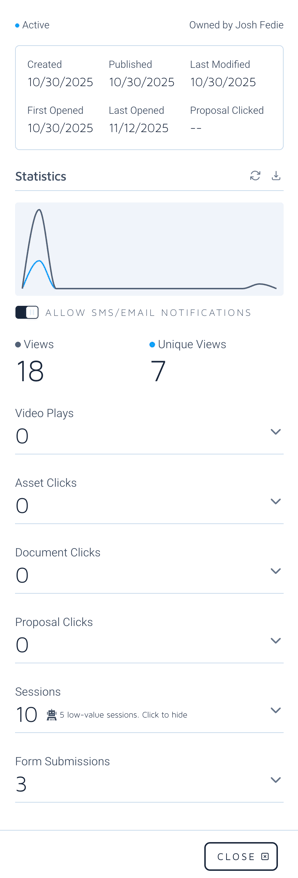
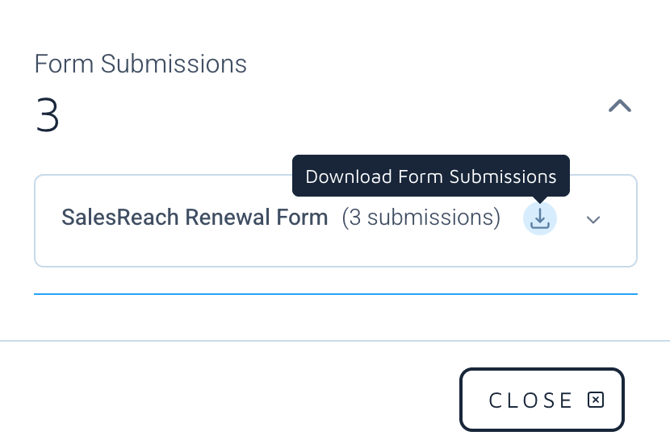
If you would like, you can download these submissions to a CSV file.
You can also specify to have any form completions emailed to you inside your Notifications in account settings.
Team admins:
As a team admin, you have the ability to download reports on a per-page basis, even if the same form is used on hundreds of pages. You also have the ability to download a CSV of all form submissions from every page any form is used on by downloading the submissions from the root level of the form.
Have fun!